The Ultimate Guide to Custom Plush Toys Manufacturing
| Feb, 21 , 24
Learn the various techniques involved in custom plushies and choose the best for your needs.
What silent ambassadors can forge instant bonds deeper than words in the grand theater of human connection? What tangible talismans whisper brand values with a huggable warmth? Look no further than the humble, oft-underestimated custom plush toy. Did you know, esteemed reader, that studies reveal a 73% increase in brand recall and a 68% boost in positive brand sentiment amongst recipients of custom plush mascots?
Yes, the power of the custom plushie stretches far beyond childhood comfort. In the hands of a savvy brand, these cuddly emissaries can weave potent spells of engagement and loyalty. But their effectiveness hinges on one crucial aspect: bringing them to life with the finest techniques. Printing and embroidery breathe life, personality, and purpose into your custom plush ambassadors.
This blog, friend, is your gilded invitation into that world. Together, we shall not merely decorate plushies but sculpt brand champions. We shall not only stitch but weave loyalty. So, buckle up, dear reader, for the custom plush revolution is upon us.

Various techniques for custom plush toys:
In the intricate dance between brand and consumer, few tools possess the subtle power of the custom plush toy. These ambassadors of whimsy, carefully crafted and strategically deployed, can weave potent spells of engagement and loyalty. Yet, the true magic lies not merely in the concept but in the art of their creation. Each technique, a brushstroke upon the canvas of imagination, unveils unique strengths and subtle shadows. Let us, then, embark on a journey, dear reader, through the hidden world of plush production and reveal the secrets these methods hold.
Bringing Your Custom Plushie to Life: The Magic of Digital Printing
In the vibrant world of custom plush toys, digital printing is a powerful tool for breathing life into your brand mascots. Imagine your design, not merely stitched onto the fabric but seamlessly integrated into its fibers. This innovative technique unlocks a spectrum of possibilities, from photorealistic imagery to intricate patterns, all while retaining the huggable softness of the plush. But how does this magic happen?
Step 1: Design Preparation: The journey begins with your vision. Your digital artwork in a compatible format becomes the blueprint for the printing. Experts carefully calibrate colors to ensure an accurate representation of the fabric.
Step 2: Fabric Selection: Not all fabrics are created equal! Choosing the proper fabric is crucial for optimal printing results. Plush fabrics with smooth, tightly woven surfaces ensure crisp and vibrant prints.
Step 3: Pre-Treatment: A pre-treatment might be applied to improve ink adhesion and color vibrancy. Think of it as preparing the canvas for the artist's touch.
Step 4: Printing Magic: Specialized printers with microscopic nozzles deposit tiny droplets directly onto the fabric. Each droplet, carefully positioned, contributes to the overall design. Imagine millions of tiny brushstrokes creating your masterpiece.
Step 5: Drying and Fixation: The freshly printed fabric embarks through heated chambers. These carefully controlled drying and fixation processes ensure the ink bonds permanently with the fabric fibers, guaranteeing durability and wash resistance.
Step 6: Cutting and Sewing: The printed fabric, now bursting with your design, enters the hands of skilled artisans. They cut and sew the fabric into your plush mascot.
Step 7: Quality Control: Every detail matters. Trained professionals meticulously inspect each plush toy, ensuring color accuracy, stitching quality, and overall craftsmanship. Only those meeting the highest standards earn the honor of representing your brand.
Stitching Your Vision: The Art of Embroidery for Custom Plush Toys
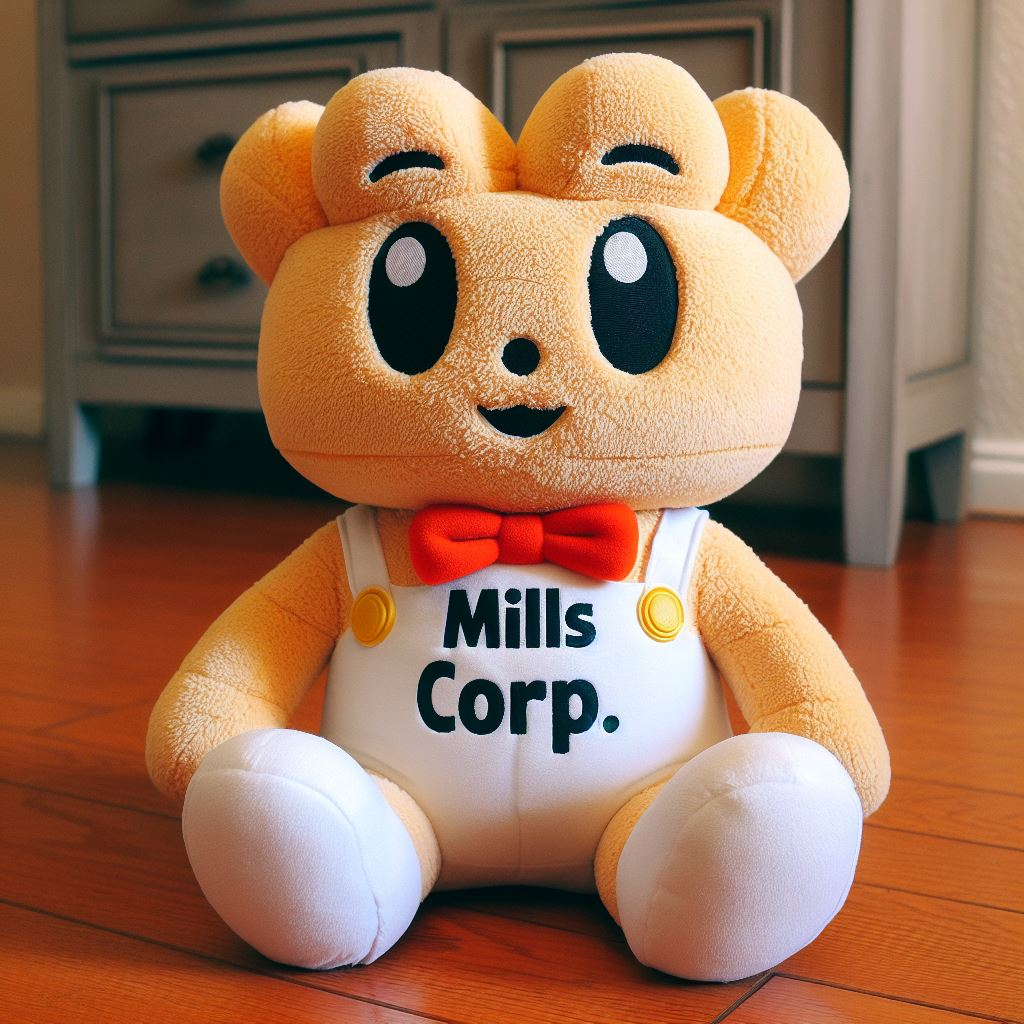
Embroidery is a timeless artistry of needle and thread. It adds a touch of personalized magic to custom plush toys. Imagine your brand logo or mascot design delicately stitched onto your plush ambassadors, infusing them with elegance and craftsmanship that resonates with consumers.
Step 1: Design Digitization: The journey begins with transforming your design into a digital embroidery file. Specialized software translates your artwork into instructions for the embroidery machine, defining stitch patterns, colors, and placement.
Step 2: Thread Selection: Each thread tells a story. Choosing the right thread weight, color, and type is crucial for achieving the desired look and feel. From subtle accents to bold logos, thread selection adds depth and dimension to your design.
Step 3: Fabric Preparation depending on the technique and fabric type. Stabilizers might prevent the fabric from stretching during embroidery, ensuring precise stitch placement.
Step 4: Machine Magic: Modern embroidery machines, guided by the digitized design, work their wonders. Needles dance across the fabric, weaving thread into intricate patterns. Each stitch, with a precise movement, contributes to the overall design.
Step 5: Color Changes: For complex designs with multiple colors, the machine automatically stops and prompts for thread changes. This meticulous process ensures accurate color representation and brings your design to life, stitch by stitch.
Step 6: Trimming and Finishing: Experts remove any excess thread or stabilizer. This meticulous finishing ensures a clean and professional look for your plush toys.
Step 7: Integration and Inspection: The embroidered piece, now brimming with personality, is integrated into the plush toy during the sewing process. Skilled artisans ensure proper placement and alignment, completing the transformation.
Step 8: Quality Control: Every detail matters. Each plush toy undergoes a final inspection, ensuring the embroidery is free of defects, the colors are accurate, and the overall craftsmanship meets the highest standards.
Layering Charm: The Art of Appliqué for Custom Plush Toys
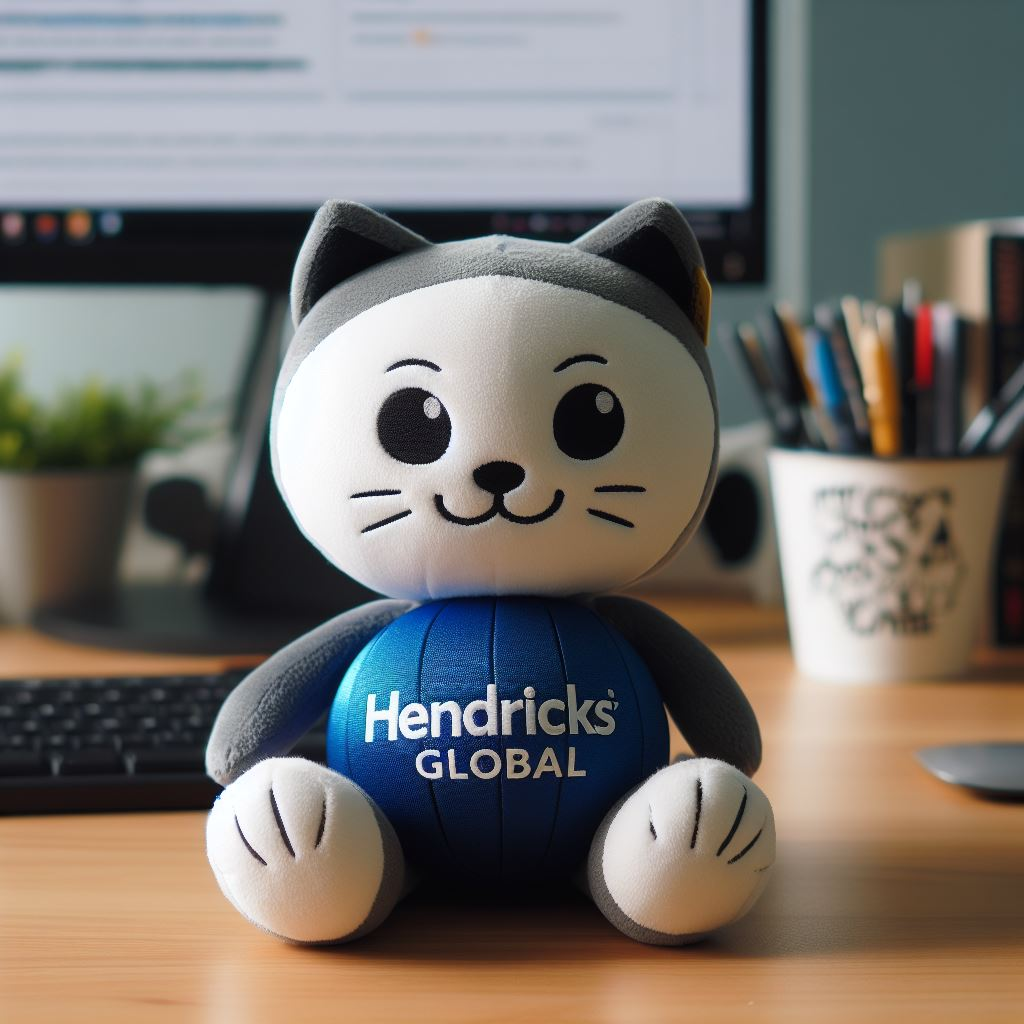
Appliqué, the art of layering pre-cut fabric pieces, adds a unique dimension and detail to custom plush toys. Imagine your mascot adorned with playful wings crafted from shimmering fabric or sporting a logo meticulously cut and applied for a raised effect. Let's explore the mesmerizing steps of appliqué for plush toys:
Step 1: Design Preparation: The journey begins with transforming your vision into a pattern. They draw and digitize each element of the appliqué design, ensuring precise cuts and seamless integration.
Step 2: Fabric Selection: Choosing the proper fabric is crucial for aesthetics and functionality. Fabrics must be compatible with the base plush material, offering similar textures and washing characteristics. Vibrant colors and interesting textures add visual intrigue to your design.
Step 3: Cutting Magic: Specialized laser cutters or skilled artisans, armed with sharp blades, meticulously cut each element of the appliqué design from the chosen fabrics. Precision is vital here, ensuring perfect shapes and smooth edges.
Step 4: Heat Activation: Depending on the chosen appliqué technique for adhesive materials like fusible web. It ensures a sturdy and durable bond between the appliqué pieces and the base plush fabric.
Step 5: Layering and Positioning: Skilled craftspeople carefully arrange the pre-cut pieces onto the base plush, following the design pattern. They position each piece for optimal visual impact and aesthetic harmony.
Step 6: Stitching and Bonding: Depending on the chosen technique. Various methods help to secure the appliqué pieces. Sewing machines create secure and decorative stitches, while heat presses provide a seamless bond for specific materials.
Step 7: Finishing Touches: Once all pieces are secured, finishing touches like trimming stray threads or adding additional details like buttons or beads bring the design to life. This meticulous attention to detail ensures a professional and polished look.
Step 8: Quality Control: Each custom plush toy undergoes a thorough inspection. Experts ensure the appliqué elements are securely attached, colors are vibrant, and the overall design matches the intended vision.

Bringing Your Mascot to Life: Sublimation Printing for Custom Plush Toys
Sublimation printing adds a vibrant color and intricate detail to custom plush toys. Imagine your design seamlessly integrated into the fabric, not just stitched on, creating a soft, huggable masterpiece.
Step 1: Design Preparation: Your journey begins with transforming your artwork into a unique sublimation paper. This paper uses mirror-imaged designs created with specific inks compatible with the sublimation process.
Step 2: Fabric Selection: Not all fabrics embrace sublimation equally. Choosing the proper fabric is crucial for optimal results. Opt for fabrics with a high polyester content (ideally, 100%) because they readily absorb the ink during the printing.
Step 3: Printing Magic: Sublimation printers, similar to inkjet printers, transfer ink onto the sublimation paper. However, these inks contain special dyes that transform from solid to gas.
Step 4: Heat and Pressure: Now comes the magic! The printed paper is placed precisely over the desired area of the plush fabric and then pressed under a heat press. This intense heat and pressure activate the dyes, converting them into gas and permanently fusing them with the fabric fibers.
Step 5: Cooling and Transfer: As the press cools, the dyes solidify within the fabric fibers, becoming part of the material. It ensures vibrant, long-lasting colors that won't crack or peel.
Step 6: Cutting and Sewing: The printed fabric, now bursting with your design, enters the hands of skilled artisans. They cut and sew the fabric to transform it into your plush mascot.
Step 7: Quality Control: Every detail matters. Trained professionals meticulously inspect each plush toy, ensuring color accuracy, stitching quality, and overall craftsmanship. Only those meeting the highest standards earn the honor of representing your brand.

Adding a Fuzzy Touch: Flock Printing for Custom Plushies
Flock printing takes custom plush toys to the next level of tactile delight! Imagine your mascot sporting a velvety soft nose, adorable whiskers, or even a logo with a raised, fuzzy texture. This unique technique adds a charming dimension to your plush creations, making them even more huggable and irresistible.
Step 1: Design Preparation: It all starts with your vision. Like other techniques, they transform your design into a digital format compatible with the flock printing equipment. It ensures precise placement and control of the flocked areas.
Step 2: Adhesive Application: The chosen areas of the plush fabric receive a thin adhesive layer. It acts as the glue that binds the flock fibers to the fabric, ensuring a durable and long-lasting effect.
Step 3: Flock Selection: The right flock is crucial for achieving the desired look and feel. Options range in fiber length, color, and texture, allowing you to create smooth velvets, fluffy fur accents, or even glittery highlights.
Step 4: The Flocking Magic: Specialized equipment showers the fabric with tiny, precisely cut fibers from nylon, rayon, or other materials. These electrostatically charged adhere uniformly to the adhesive-coated areas.
Step 5: Heat and Pressure: A gentle heat treatment helps solidify the adhesive. It ensures the flock fibers bond to the fabric. This step guarantees the flocked elements withstand cuddles and playtime adventures.
Step 6: Cleaning and Finishing: Remove any excess flock fibers, leaving behind a clean and defined design. They might require additional finishing touches like trimming or stitching per the project.
Step 7: Quality Control: Like other techniques, each plush toy undergoes a thorough inspection. Experts ensure the flocked areas are consistent, colors are vibrant, and the overall craftsmanship meets the highest standards.
Heat Transfer Printing: A Speedy Print for Your Custom Plushies
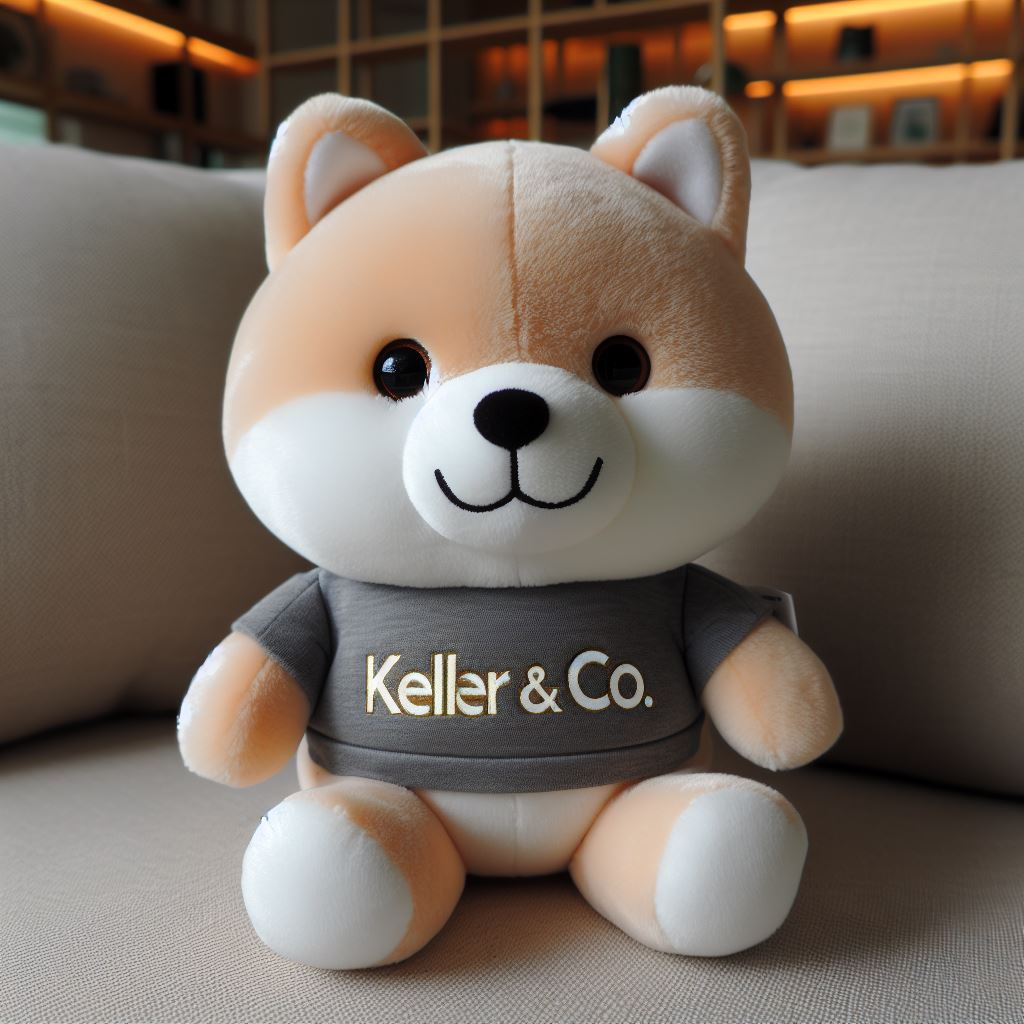
Heat transfer printing offers a quick and efficient way to personalize your custom plush toys. Imagine logos, names, or simple designs adorning your mascots, adding a touch of personality without sacrificing the cuddle factor.
Step 1: Design Preparation: Your journey begins with translating your artwork into a pre-printed transfer sheet. This sheet is your design template, containing vibrant inks for heat transfer.
Step 2: Fabric Selection: While heat transfer works on various fabrics, plush materials require specific considerations. Opt for fabrics with smooth, heat-resistant surfaces to ensure optimal adhesion and color clarity.
Step 3: The Heat Press Dance: Specialized heat presses apply intense heat and pressure to the transfer sheet and the chosen area on the plush fabric. It triggers a magical combination: the heat activates the adhesive on the transfer sheet. It causes it to bond with the fabric fibers.
Step 4: Peeling Away the Magic: Once the heat press cools, they peel the transfer sheet, revealing your design seamlessly integrated into the plush toy. This process ensures vibrant colors and crisp details.
Step 5: Finishing Touches: It might require additional steps like trimming or stitching for a polished finish.
Step 6: Quality Control: No plushy escapes scrutiny! Trained professionals meticulously inspect each toy, ensuring the transferred design is free of defects, colors are accurate, and the overall craftsmanship meets the highest standards.
Heat transfer printing offers several advantages:
- Speed: Ideal for large orders or projects with tight deadlines.
- Cost-effectiveness: A budget-friendly option for adding simple designs or logos.
- Versatility: Works on various fabric types, offering flexibility in your choices.
However, remember the limitations:
- Design complexity: Limited to simple designs and logos due to pre-printed sheet constraints.
- Texture: The technique might not offer the same textural depth as embroidery or flock printing.
Stitching with Love: Knitting and Crocheting for Custom Plushies
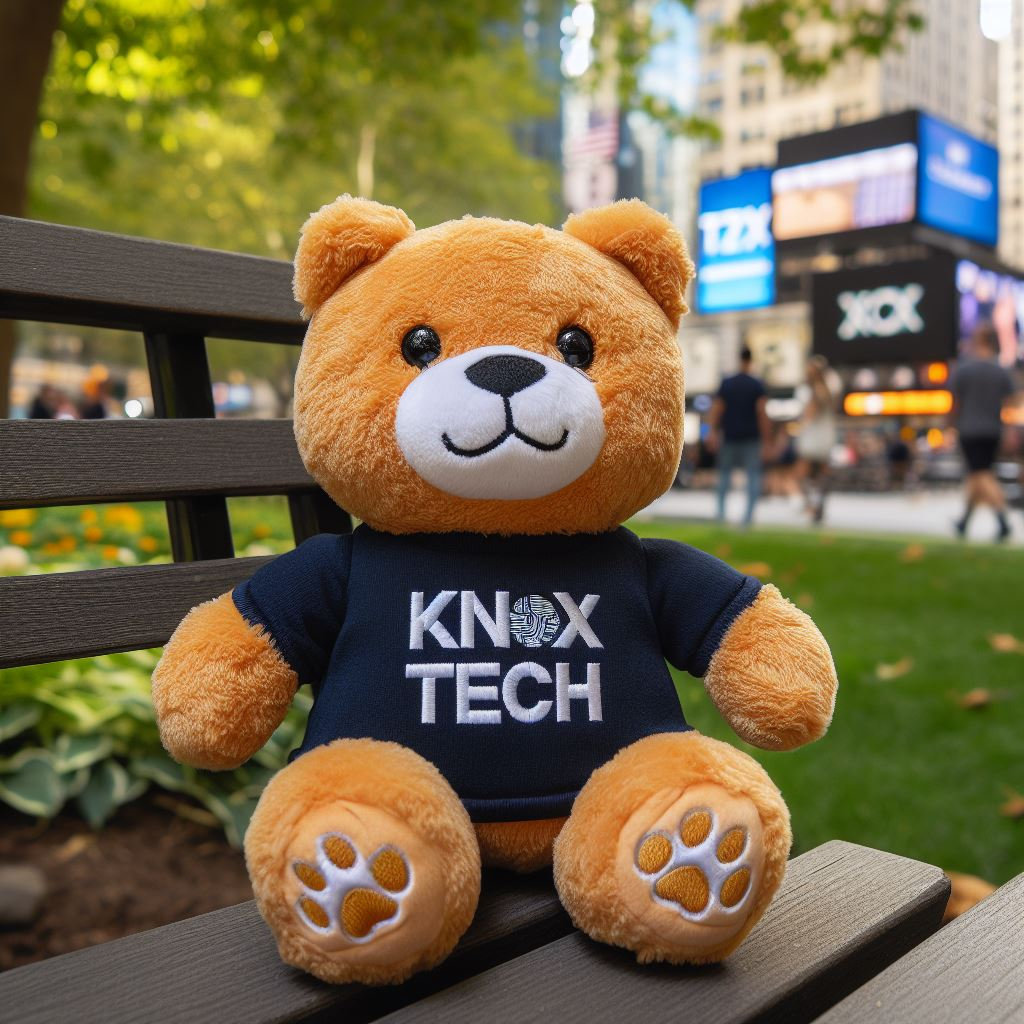
While the previously discussed techniques offered efficiency and precision, knitting and crocheting bring a unique charm and handcrafted touch to custom plushie creation. Imagine your mascot lovingly knit or crocheted, each stitch imbued with personality and warmth, one-of-a-kind.
Knitting:
- Yarn Selection: Choosing the proper yarn is crucial. Consider factors like fiber content, weight, texture, and color palette to bring your design to life.
- Needle Magic: Skilled knitters manipulate needles and yarn to create loops, shaping them into desired forms. Complex patterns and intricate details are possible with experienced hands.
- Stuffing and Assembly: They stuff the knitted pieces with soft materials like hypoallergenic polyfill, then meticulously sewn together to create the final plush form.
Crocheting:
- Yarn Selection: Similar to knitting, yarn choice plays a vital role. Explore different textures and weights to achieve the desired look and feel.
- Hook Work: Yarn loops are transformed into stitches, building the plush piece by piece. This technique offers flexibility in shaping and creating unique textures.
- Stuffing and Finishing: After stuffing, the crocheted pieces are sewn together or joined using crochet techniques for a seamless finish. You can go with additional detailing like embroidery or buttons for personalization.
Strengths of Knitting and Crocheting:
- Uniqueness: Each piece is handcrafted, making each custom plush one-of-a-kind.
- Design Flexibility: Experienced artisans can create highly detailed and intricate designs that are impossible with other techniques.
- Tactile Appeal: Natural yarns often add a cozy feel to the plushie.
Limitations:
- Time and Cost: Handcrafting requires more time and skilled labor, impacting production time and cost.
- Complexity: Creating intricate designs might not be feasible due to the inherent nature of knitting and crocheting techniques.
Who should choose Knitting and Crocheting?
- Brands seeking unique, handcrafted mascots with a personal touch.
- Projects with smaller quantities or one-of-a-kind creations.
- If you need designs that need intricate details and textural elements.
Laser Cutting: Precision Meets Creativity in Custom Plush Toys
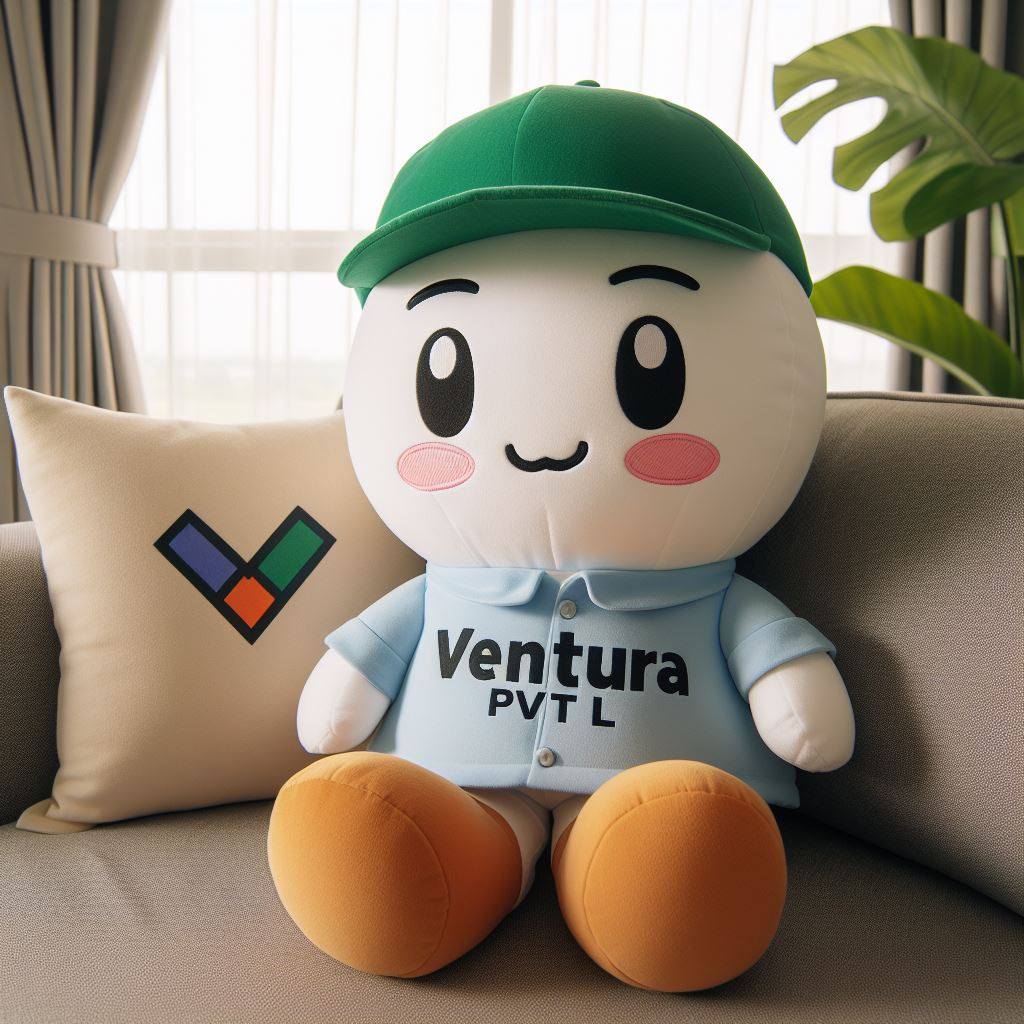
Laser-cutting technology adds a unique dimension to the world of custom plush toys. Imagine your mascot's intricate details, delicate features, or even layered elements precisely brought to life, not with needles and thread, but with a light beam!
Step 1: Design Preparation: Your journey begins with translating your design into a digital format compatible with the laser cutter software. It ensures precise control over cuts and intricate details.
Step 2: Material Selection: Not all fabrics are equal for laser cutting. Opt for fabrics with specific heat-resistant properties and minimal fraying tendencies. Felt, cotton and some synthetic blends are often suitable choices.
Step 3: The Laser's Dance: They place the chosen fabric onto the laser cutter bed. A focused beam of light, controlled by the digital design, precisely cuts through the fabric, creating intricate shapes and designs. This process eliminates the need for traditional dies or blades, offering unmatched precision and detail.
Step 4: Edge Sealing (Optional): Some manufacturers might apply heat sealing to prevent fraying along the laser-cut edges. It ensures a clean and polished look.
Step 5: Assembly and Finishing: The laser-cut pieces, each imbued with meticulous detail, are carefully assembled by skilled artisans. Other techniques like sewing, gluing, or stuffing might help create the final plush form.
Step 6: Quality Control: Every masterpiece undergoes a thorough inspection, ensuring the laser-cut elements are precise, proper edges, and the overall craftsmanship meets the highest standards.
The Magic of Laser Cutting:
- Precision: Achieve intricate details and complex shapes that are impossible with traditional cutting methods.
- Versatility: Cut various fabric types, allowing for diverse design possibilities.
- Efficiency: Ideal for large orders or projects requiring precise repeatability.
- Minimal Waste: Precise cuts minimize fabric waste, making it an eco-friendly option.
Limitations to Consider:
- Complexity: Extremely intricate designs with tight curves or small elements might be challenging.
- Material Restrictions: Not all fabrics are suitable for laser cutting due to heat resistance and fraying concerns.
Who should choose Laser Cutting?
- Brands need precise cuts, intricate details, or layered elements.
- Large quantities with consistent replicability.
- Minimal fabric waste and eco-friendly.
EverLighten: Bringing the McLennan Community College Highlander to Life
The Challenge:
McLennan Community College needed a high-quality, custom plush version of their beloved Highlander mascot within a tight timeframe. It was intricate, featuring various materials and accessories, including a unique tartan fabric, a sword, and a shield.
EverLighten's Solution:
- Deep communication: We worked closely with the college to understand their vision and specific requirements.
- Expert guidance: We advised them on materials and construction techniques to ensure the plush's authenticity and durability.
- Unwavering commitment: We sourced the unique tartan fabric and meticulously crafted the intricate details like the sword and shield.
- Unlimited revisions: We provided multiple samples and made revisions until the college was 100% satisfied with the design.
The Result:
McLennan Community College received a stunning, custom plush Highlander mascot that perfectly captured the spirit and tradition of their institution. The mascot exceeded their expectations in quality, accuracy, and timely delivery.
EverLighten: Your Partner in Custom Plush Perfection
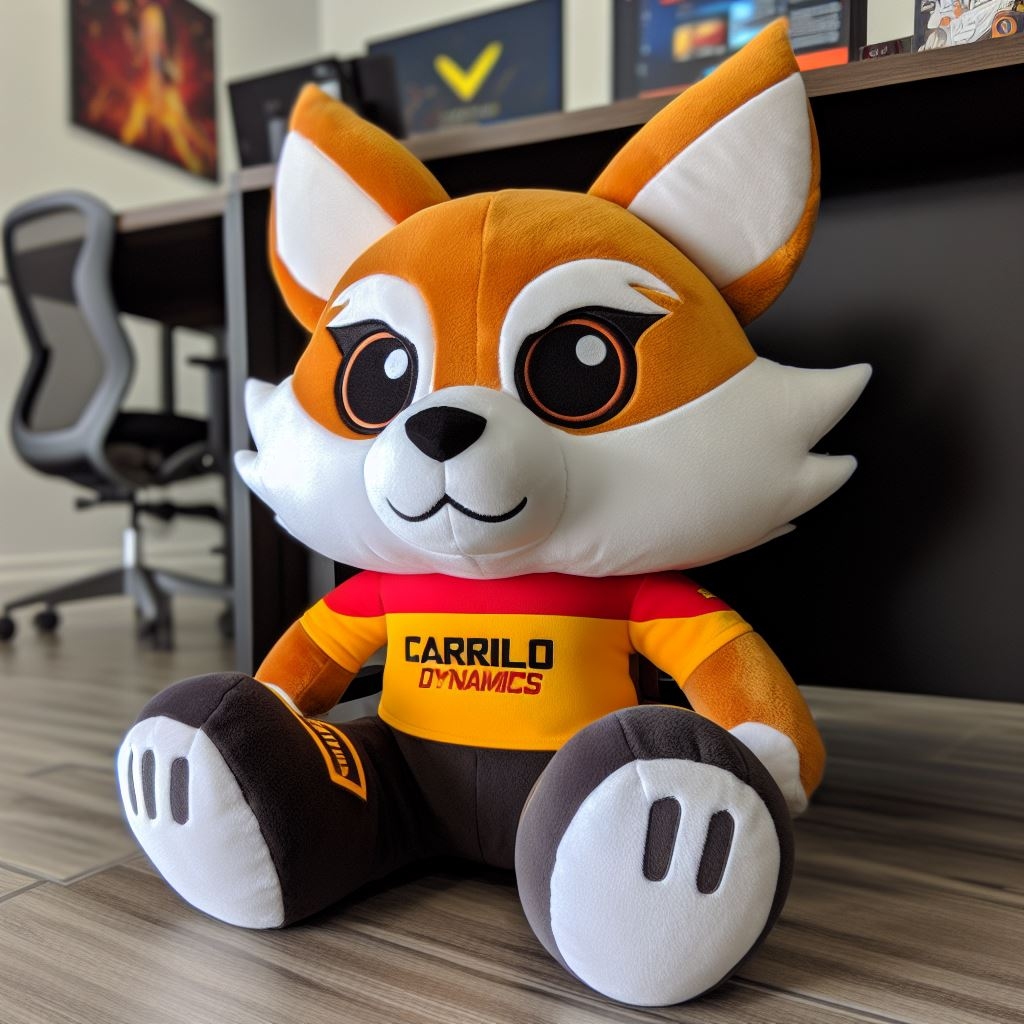
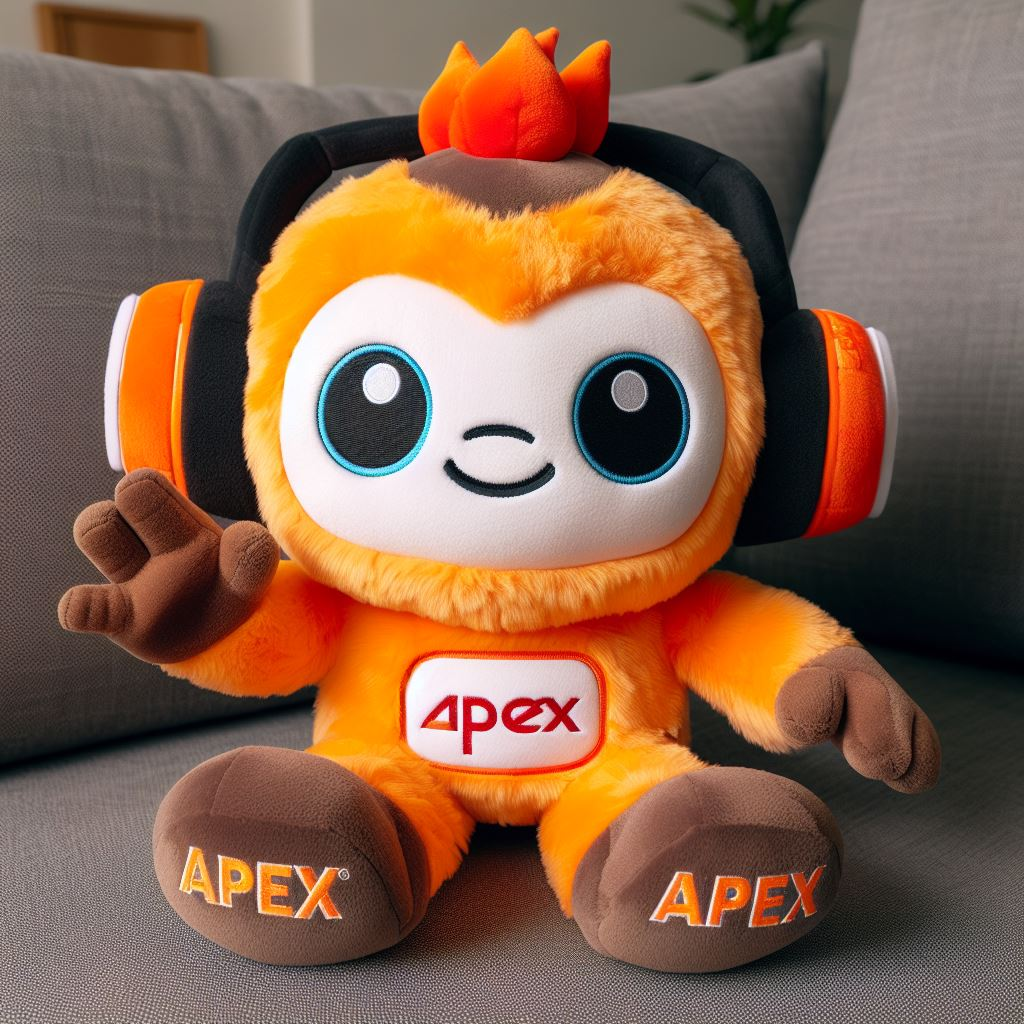
Whether you have a simple or complex design, our team of experts brings your vision to life. We offer the following to ensure your satisfaction:
- 100% customization: Create a mascot that embodies your unique brand identity.
- 100% quality check: Meticulous attention to detail and craftsmanship.
- Free design help: Expert guidance to refine your ideas.
- Worldwide delivery: Share your brand love across borders.
- 24/7 support: We're here, always, for your questions.
- Unlimited revisions: Perfect your mascots, stress-free.
- Low MOQ: Start small, dream big.
Contact EverLighten today, and let's create custom plush toys that bring your brand to life!
FAQs:
- Which technique is best for my design?
There's no one-size-fits-all answer! It depends on your design complexity, budget, and desired outcome.
- Digital printing: Ideal for vibrant artwork, detailed patterns, and photorealistic images.
- Embroidery: Excellent for precise logos, personalized details, and adding texture.
- Appliqué: Perfect for layering elements, creating 3D features, and using unique fabrics.
- Can I mix and match techniques?
Absolutely! Combining techniques expands your creative possibilities. Imagine a mascot with a digitally printed base, embroidered details, and appliqué wings!
- What materials are used for custom plush toys?
Soft, huggable fabrics like fleece, Minky, and polyester are popular. Consider factors like durability, texture, and color compatibility with your chosen technique.
- What's the minimum order quantity (MOQ)?
It varies depending on the manufacturer and technique. Some companies, like EverLighten, offer low MOQs, allowing you to test the waters before scaling up.
- How long does it take to create a custom plush toy?
Production time depends on the complexity of your design, chosen techniques, and order quantity. Typically, it takes 2-6 weeks, but factor in communication and approval processes.

